old grunge texture of damp wall

Top Tips on How to Stop Mould on Walls Permanently

Struggling with mould on your walls? This guide on how to stop mould on walls will help you tackle the problem head-on. Learn how to manage moisture, boost ventilation, and use mould-resistant materials to keep your home mould-free.

Key Takeaways

  • Mould thrives in damp, poorly ventilated spaces, necessitating effective moisture control and prevention strategies.
  • Improving ventilation and controlling indoor humidity levels between 30-60% are vital in preventing mould growth.
  • Using mould-resistant products and regular cleaning is essential for maintaining a mould-free environment and addressing existing mould issues safely.

Understanding Mould Growth

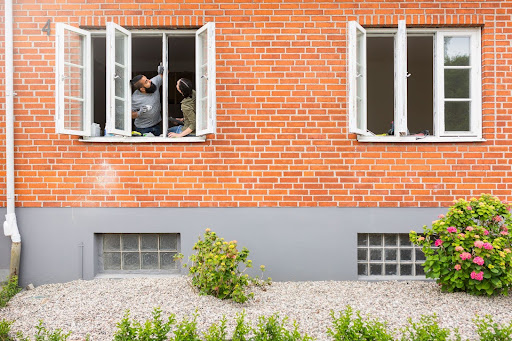
Mould develops on walls when spores make contact with moisture-rich surfaces, thriving in damp and dark environments. The essential conditions for mould growth include access to moisture, poor ventilation, and cold surfaces. Bathrooms and kitchens, where moisture levels are typically high, can release mould spores and are common areas for mould growth.

Mould often finds its way into poorly ventilated spaces, especially those that accumulate moisture over time. The prime time for mould infestations is during winter, although some types, like Alternaria mould, are more prevalent from July to September. These environments provide the perfect breeding ground for mould spores to flourish, leading to significant mould problems.

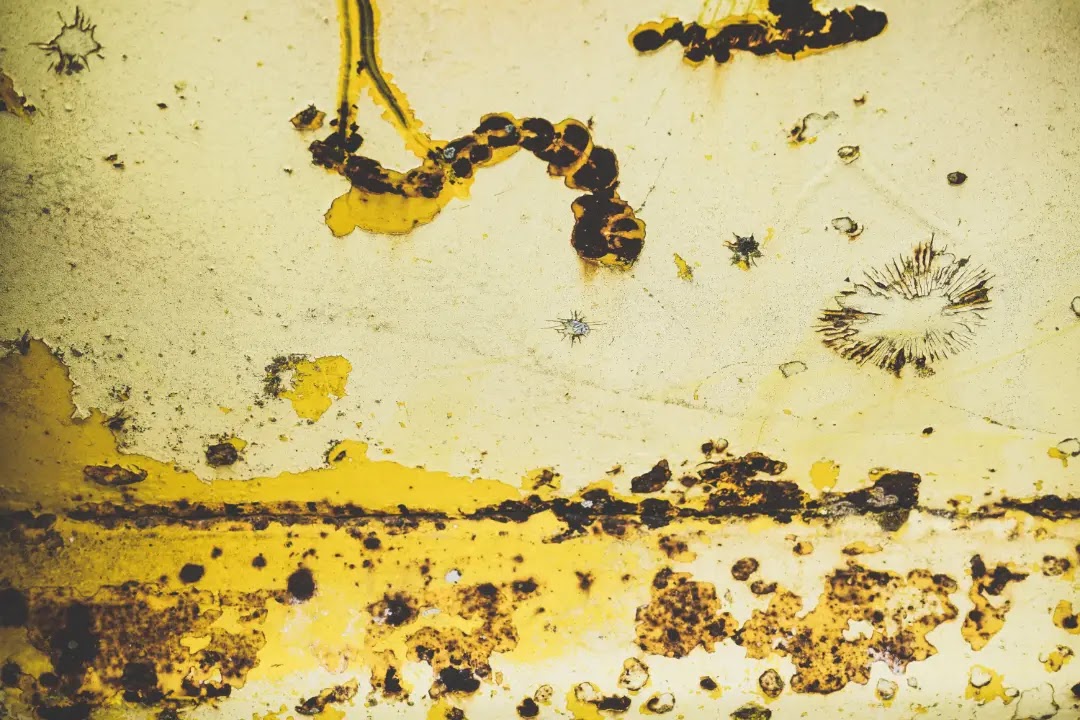
The health impacts of mould exposure can be severe, ranging from respiratory issues to skin irritation. Black mould, also known as Stachybotrys chartarum, is particularly notorious for its potential health risks. Understanding these impacts emphasises the importance of mould prevention and the need to maintain a mould-free home.

Identifying Sources of Moisture

Identifying and addressing sources of excess moisture is the first step in mould prevention. Common sources include leaky pipes, rising damp, and poor seals around windows and doors. Inspect problem areas like basements, window frames, and around hot water tanks for any signs of damp or leaks.

Daily activities such as cooking, bathing, and even drying clothes indoors without proper ventilation significantly contribute to indoor humidity levels. These activities release water vapour into the air, which can condense on cold surfaces, forming damp patches and promoting mould growth.

Routine maintenance tasks, like clearing roof gutters and checking for leaks, are crucial to prevent moisture build-up. Using a moisture metre can help monitor moisture levels and identify areas that might be at risk of mould growth. Staying vigilant and addressing these sources promptly helps prevent mould from taking hold. So here are the ways to stop mould on walls.

Improve Ventilation

Proper ventilation prevents the build-up of moisture that leads to mould. Ensuring adequate ventilation in the home can be as simple as using extractor fans or opening windows to remove moist air from kitchens and bathrooms, allowing for fresh air circulation. These methods are particularly effective during and after activities that generate a lot of moisture.

For more consistent air exchange without the need to open windows, consider installing trickle vents. Mechanical ventilation systems can also significantly improve air circulation, utilising fans to manage stale air and reduce condensation risk. Intermittent and continuous mechanical extract ventilation systems can be tailored to user needs, further enhancing air circulation.

Regular maintenance of ventilation systems, including cleaning vents, is crucial for their optimal performance. A professional assessment can guide effective ventilation improvements tailored to your home’s specific needs. Ensuring proper ventilation creates an environment that discourages mould growth and keeps your home healthy.

Control Indoor Humidity

Maintaining the right indoor humidity levels helps prevent mould. Generally, moisture levels above 60% significantly encourage mould growth. The ideal indoor humidity level to prevent mould is between 30-60%, with indoor temperatures kept between 18 and 22°C.

Monitoring humidity with tools like a thermo-hygrometer or a weather station can help keep track of both indoor and outdoor humidity levels. These tools provide valuable insights, allowing you to make necessary adjustments to maintain optimal conditions.

Dehumidifiers are effective in reducing moisture in the air, although they can increase energy bills. Using dehumidifiers, fans, or air conditioners can help control humidity levels, preventing mould from returning. However, it’s important to balance their use to manage energy consumption.

Excess moisture from everyday activities like cooking, bathing, and drying clothes indoors contributes to this issue. Even breathing contributes to this issue. Simple measures, like ensuring wet clothes in the washing machine are hung to dry outside and ventilating wet rooms, can help manage moisture levels. Controlling indoor humidity creates an environment less conducive to mould growth.

Using Mould-Resistant Products

Using mould-resistant products can be highly beneficial in preventing mould on walls. Mould-resistant paint, drywall, and mould inhibitors are recommended products for this purpose. Mould-resistant paint, for example, is formulated to help stop mould from growing on surfaces.

During renovations, incorporating mould-resistant products can prevent future mould issues. Specialist anti-mould paint should be applied to surfaces after cleaning to protect against future mould growth. Additionally, biocidal cleaners are effective in eliminating mould and preventing its return.

Practical tips for using mould-resistant products include ensuring proper surface preparation for effective adhesion and using medium-pile rollers for a smooth finish. Anti-condensation paint can also be used in areas prone to condensation to prevent damp. These products help create a durable barrier against mould growth.

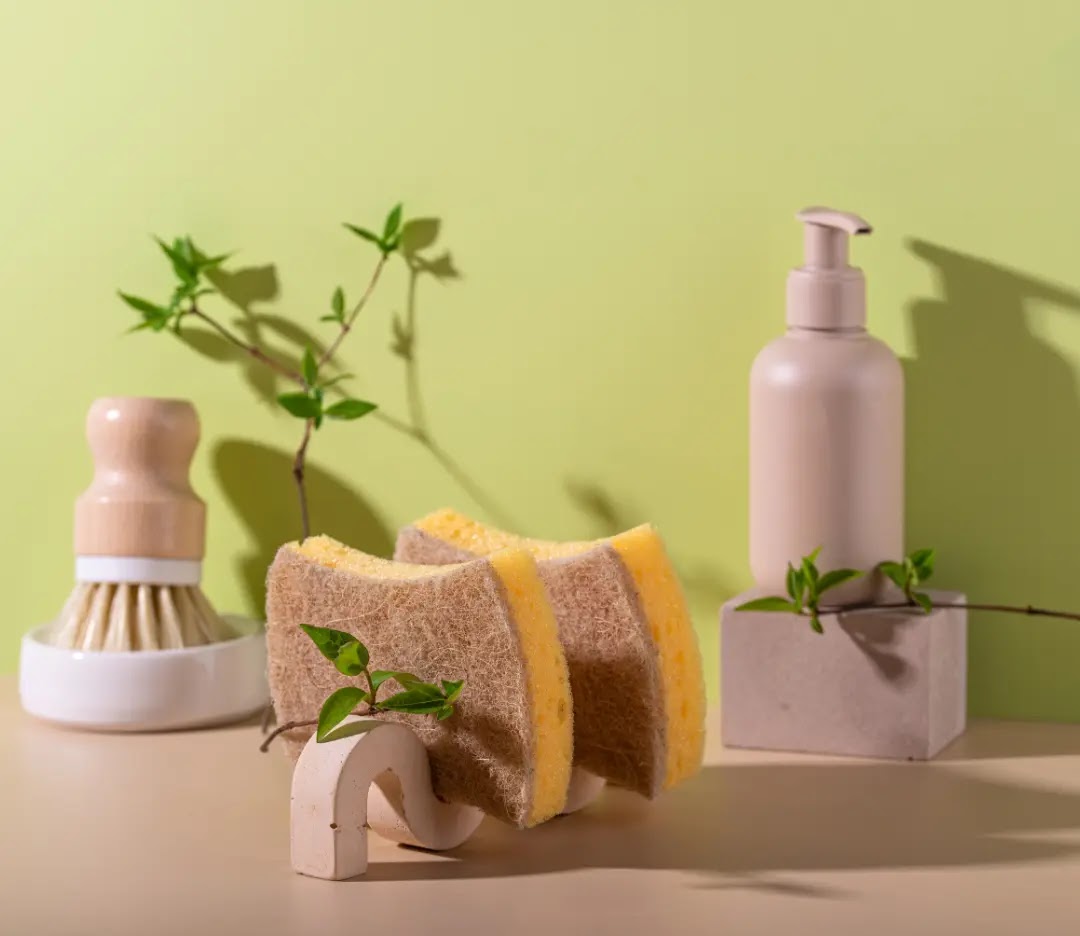
Practise Regular Cleaning and Maintenance

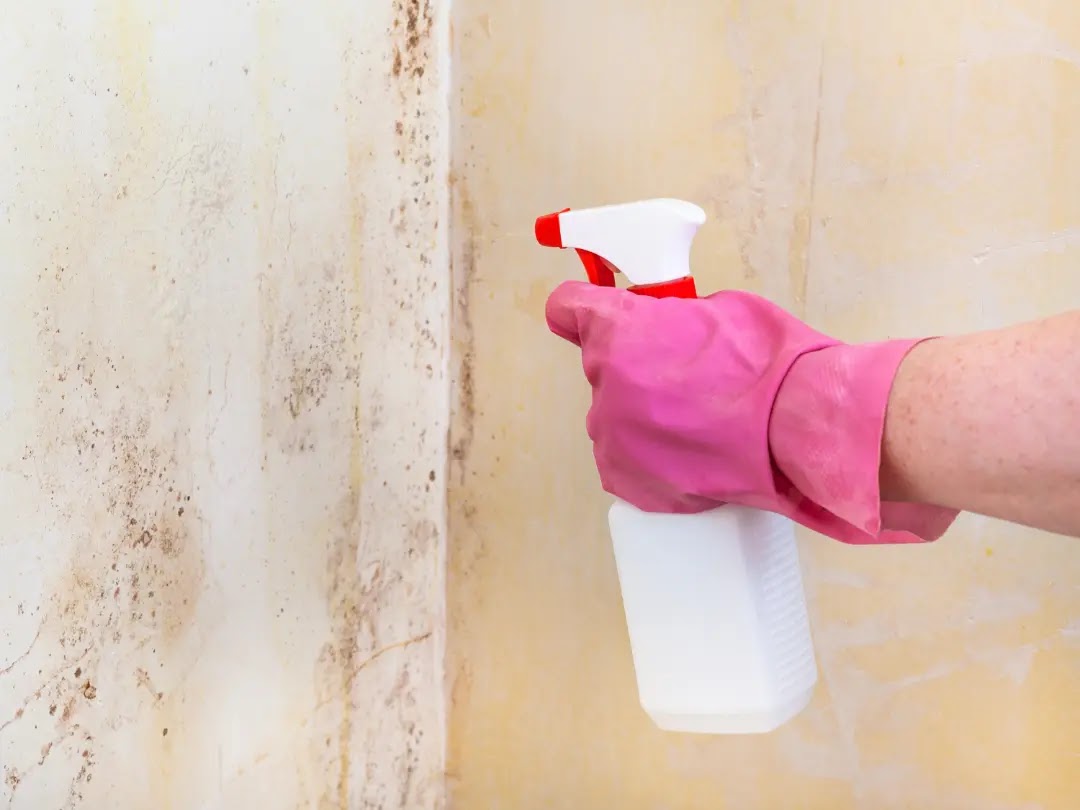
Regular cleaning and maintenance help prevent mould. Consistent cleaning and dusting help prevent mould growth on walls and surfaces. When cleaning mould, it’s important to wear rubber gloves to protect your hands and prevent the release of mould spores. A mixture of equal parts water and detergent can be used to clean mould-affected surfaces, including kitchen cabinets.

Routinely check areas like shower curtains and bathroom seals for signs of mould, replacing them if necessary to maintain a mould-free environment. Incorporating these cleaning habits into your routine effectively keeps mould at bay.

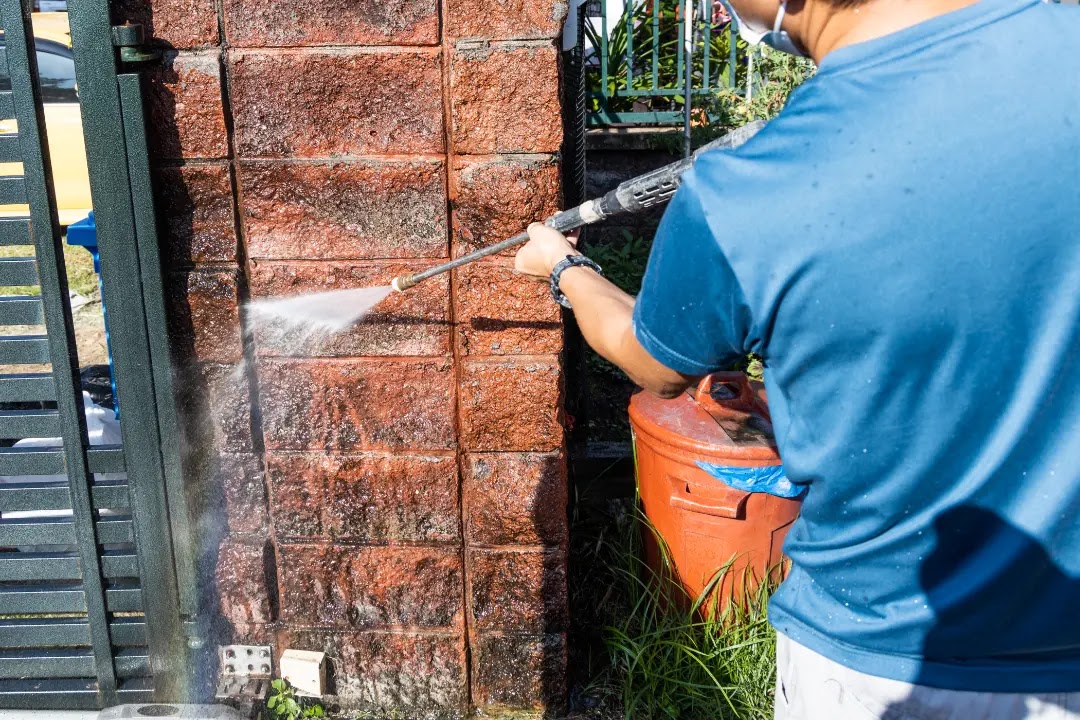
Treat Existing Mould

Safety is paramount when treating existing mould. Before starting the process of removing mould, wear protective goggles, gloves, and a mask. Ensure windows are open for ventilation while cleaning to reduce the risk of spore spread. The first step is to scrape off paint or wallpaper from the affected walls.

Household solutions such as vinegar, bicarbonate of soda, bleach, and mould remover can be effective in removing mould. A bleach-based spray followed by a biocidal cleaner is particularly effective for controlling black mould. To completely eliminate the underlying cause of mould, specialist mould removal products are essential. Additionally, proper ventilation is necessary for effective remediation.

For extensive mould infestations or those caused by contaminated water, professional intervention is crucial. Consulting experts provides tailored solutions and can offer insurance-backed guarantees, giving homeowners peace of mind. Addressing the root cause and using specialist treatments effectively stops mould from returning.

Get Professional Help from Environ Property Services

If mould problems persist, it’s essential to consult professionals to assess and treat the situation. Environ Property Services offers a no-obligation consultation to help diagnose mould problems and provide treatment recommendations. Our team is the trusted and reliable London’s leading mould removal expert, providing informed advice and friendly service.

Environ Property Services takes a thorough approach to eliminating moisture sources in homes, ensuring long-term mould prevention and providing homeowners with peace of mind.

Our help allows you to effectively get rid of mould and maintain a healthy living environment. Contact us today to schedule a consultation.

Frequently Asked Questions

What causes mould to grow on walls?

Mould thrives on walls due to moisture and damp conditions, as the spores require these environments to grow. Ensuring proper ventilation and moisture control can prevent mould formation.

How can I identify sources of excess moisture in my home?

To identify sources of excess moisture in your home, check for leaky pipes, rising damp, and inadequate seals around windows and doors. Additionally, moisture generated from daily activities like cooking and bathing without proper ventilation should be assessed. Addressing these issues can significantly improve your home’s air quality and prevent moisture-related problems.

What are some effective ways to improve ventilation in my home?

To effectively improve ventilation in your home, consider using extractor fans, opening windows, installing trickle vents, and implementing mechanical ventilation systems. These methods enhance air circulation, ensuring a healthier indoor environment.

When should I seek professional help for mould problems?

You should seek professional help for mould problems when they are extensive or persist despite your efforts to address them. Engaging our experts at Environ Property Services ensures a thorough assessment and effective treatment.

Summary

Stopping mould on walls permanently involves understanding mould growth, identifying moisture sources, improving ventilation, controlling indoor humidity, using mould-resistant products, maintaining regular cleaning routines, and treating existing mould effectively. For persistent problems, seeking professional help from experts like Environ Property Services ensures a comprehensive solution. By following these steps, you can ensure your home remains mould-free and healthy.

Preventing damp 1 1

Mastering Brick Care: A Guide to Acid Washing Bricks

If you want to restore the look of your brick surfaces, acid washing can be the solution. In this guide to acid-washing bricks, we will explore why it’s an effective cleaning method, the necessary tools and preparations, and a step-by-step approach to safely apply the acid solution. Follow along to make your brickwork look as good as new.

Key Takeaways

  • Acid washing is an effective method for cleaning bricks, removing tough stains, and maintaining durability.
  • Proper preparation, including safety measures and pre-cleaning, is essential for successful acid washing.
  • Post-cleaning inspection and neutralisation of acid is crucial for preserving brick surfaces and preventing damage.

Why Choose Acid Washing for Brick Cleaning

Acid washing is an effective method for cleaning brick surfaces. It helps remove tough stains, dirt, and efflorescence. Unlike other cleaning methods, acid washing utilises the strength of muriatic acid to dissolve unwanted residues, making your brickwork look as good as new.

Regular acid washing maintains the beauty and durability of brick surfaces as, over time, bricks accumulate dirt and grime that detracts from their appearance and may compromise their structural integrity. Acid cleaning ensures your bricks look pristine and remain strong for years.

While muriatic acid is said to work wonders on tough stains that other cleaners struggle with, it’s essential to assess the brick surface’s suitability and the type of stain before applying the acid. This careful consideration helps in preserving the brick’s natural appeal while effectively cleaning it.

Essential Tools and Supplies for Acid Washing Bricks

Having the right tools and supplies is paramount when cleaning bricks. Prioritise safety by using safety goggles, heavy-duty rubber gloves, and a mask or respirator. You should also work in well-ventilated areas to avoid skin or respiratory issues.

A quality brick acid cleaner is needed as it removes efflorescence and mortar residue, maintaining the brick’s appearance. Additionally, a bristle brush is needed to apply the acid solution effectively.

Other supplies include plastic sheeting to protect adjacent areas, mild detergent for pre-cleaning, and plenty of clean water for rinsing. These items ensure a smooth and effective cleaning process, resulting in pristine bricks.

Preparing Your Brickwork for Acid Washing

Preparation is the cornerstone of a successful brick cleaning process. Safety and damage prevention are critical. Pre-clean the brick surface and protect adjacent areas to avoid unintended harm before acid washing.

Pre-cleaning involves removing dirt and debris with a broom and detergent solution, setting the stage for effective acid application. Covering surrounding areas with plastic sheeting prevents acid splashes from causing damage. Skipping these steps can lead to accidents and damage.

Pre-Clean the Brick Surface

Start by using a broom to remove loose dirt and dust from the brick surface. Next, apply a solution of mild detergent and water to loosen any remaining debris, making the subsequent acid application more effective. This initial cleaning step is crucial as it removes surface grime that could hinder the acid cleaning process.

A dirt-free clay brick surface allows the acid to penetrate and clean more effectively, enhancing the overall result and leading to cleaner, more beautiful bricks.

Protect Adjacent Areas

Before applying the acid solution, protecting any adjacent areas with plastic sheeting is imperative. This precaution prevents acid splashes from causing damage to surrounding surfaces, ensuring that only the intended brickwork is affected by the cleaning process.

Plastic sheeting safeguards the surrounding environment, including nearby plants and structures, from potential damage. These protective measures ensure safety and maintain the integrity of the area during acid washing.

Applying the Acid Solution: Step-by-Step Guide

Correct application of the acid solution is crucial for the best results. Follow the manufacturer’s instructions, including recommended application times. Moisten the brick surface with water, apply the acid solution with a brush, then thoroughly rinse and inspect the area.

This step-by-step guide ensures a systematic approach, making the acid washing process safe and effective, leading to a thoroughly clean and rejuvenated brick surface.

Mix the Acid Solution

Safety is crucial when mixing the acid solution. Always add acid to water to prevent dangerous reactions. For an effective cleaning solution, especially on lighter-coloured bricks, use a one-part acid to the ten-part water mixture.

This dilution ratio ensures the acid is strong enough to clean without damaging the brick surface.

Application Techniques

Start from the top and work your way down when applying hydrochloric acid to the acid solution. This technique uses gravity to help the acid clean more effectively. Apply the solution gently to prevent damage to the brick surface.

Following these techniques ensures a thorough and safe acid-washing process. Proper application enhances cleaning effectiveness and protects the brickwork from potential harm.

Rinse and Neutralise

Thoroughly rinse the bricks with copious amounts of water after applying the acid. This step removes any remaining acid to prevent ongoing corrosion and maintain the bricks’ integrity.

Allow the acid solution to sit for a few minutes before rinsing, letting it penetrate and clean effectively. After rinsing, inspect the bricks to ensure all residues are removed.

Scrubbing the bricks with a water-soaked brush neutralizes any remaining acid residue, ensuring all acidic content is neutralized and the bricks are clean and safe.

Common Mistakes to Avoid During Acid Washing

Avoid common mistakes during the acid washing process to achieve pristine bricks without compromising their structural integrity.

One significant error is using excessive acid, which can weaken the brick structure and cause lasting damage. Therefore, you should assess the brickwork before starting, use correct solution ratios, and apply the acid gently.

Being aware of these common pitfalls helps ensure the acid washing process is both safe and effective, preserving the beauty and durability of your brick surfaces.

Post-Acid Washing Inspection and Maintenance

After acid washing, inspect the brick surfaces for any lingering stains or marks. If stubborn stains persist, repeating the acid washing process may be necessary.

Neutralise any remaining acid to protect the brick surface from ongoing corrosion. Regular maintenance and cleaning maintain the aesthetic appeal and extend the lifespan of your brick surfaces.

DIY vs. Professional Brick Cleaning Services

When it comes to brick cleaning, the choice between DIY and professional services might seem straightforward, but the risks and potential consequences of a DIY approach can be far more severe than many realise. While DIY acid washing may appear cost-effective at first glance, the reality is that improper handling can lead to significant, irreversible damage to your brickwork—and even pose serious health risks to you.

Bricks are more delicate than they seem. The wrong cleaning technique or harsh chemicals can strip away the protective outer layer, leading to crumbling, erosion, and long-term structural issues. Worse yet, a simple mistake during a DIY acid wash can result in burns, toxic fumes, and other health hazards that could easily be avoided.

On the other hand, choosing professional brick cleaning services, like those offered by Environ Property Services, ensures that your brickwork is treated with the expertise and care it deserves. Professionals use industry-approved methods and equipment to remove stubborn stains and restore your bricks without causing harm. They also provide tailored solutions for both residential and commercial properties, guaranteeing a thorough cleaning that enhances the appearance and longevity of your brickwork.

In the end, the benefits of professional brick cleaning far outweigh the risks of DIY. With professionals, you protect your property’s integrity and avoid the dangers associated with handling potentially harmful chemicals. Investing in professional services is a smart, safe decision that ultimately saves you time, money, and potential headaches—ensuring that your brickwork looks its best for years to come.

Environ Property Services: Expert Brick Cleaning in London

Environ Property Services combines traditional masonry skills with modern technology to deliver unparalleled brick cleaning and restoration services in London. Our innovative ThermaTech cleaning system eliminates health hazards and minimises damage risks, making us a trusted name in the industry.

Dedicated to preserving London’s rich architectural heritage, Environ Property Services caters to a variety of buildings, including residential homes, commercial properties, and historically significant monuments. Our commitment to quality and heritage preservation ensures that every project is handled with meticulous care.

With a rich legacy in brickwork restoration, Environ Property Services consistently delivers impeccable outcomes, making us the go-to expert for brick cleaning in London. Schedule a consultation with us today.

Benefits Of Choosing Environ Property Services

Choosing Environ Property Services for your brick cleaning needs ensures unmatched precision and expertise. Our dedication to preserving property heritage means your brickwork is in safe hands, allowing you to focus on other important tasks.

Our comprehensive brick cleaning process includes meticulous assessment and analysis, tailored cleaning methods, a detail-oriented approach, and thorough rinsing and neutralising. At Environ Property Services, we are not just about cleanliness; but about preserving, decorating, enhancing, and celebrating the legacy of your property. Contact us today.

Frequently Asked Questions

Why is acid washing essential for brick cleaning?

Acid washing is essential for brick cleaning as it effectively removes stubborn stains, dirt, and efflorescence, ensuring the longevity and aesthetic appeal of brick surfaces.

What safety precautions should I take when acid washing bricks?

When acid washing bricks, it’s essential to wear safety goggles, heavy-duty rubber gloves, and a mask or respirator, while also ensuring the work area is well-ventilated for protection against harmful fumes. Following these precautions will help ensure your safety during the process.

How should I prepare my brickwork before acid washing?

To prepare your brickwork for acid washing, thoroughly pre-clean the surface with a detergent solution, remove any loose debris, and cover adjacent areas with plastic sheeting to protect them from damage. This ensures an effective and safe acid wash process.

Should I hire a professional to acid wash my bricks?

It is advisable to hire a professional to acid wash your bricks, especially for significant stains or damage, to ensure safety and achieve the best results. Moreover, not all cleaning methods are suitable for brick surfaces, as improper techniques like pressure washing can damage mortar joints and compromise the integrity of your brickwork.

Summary

Acid washing is a powerful method for maintaining the beauty and durability of your brick surfaces. By following the proper techniques and precautions, you can achieve pristine bricks that enhance the appeal of your property. Proper preparation, application, rinsing, and neutralising are key steps in this cleaning process.

For those who prefer a hassle-free experience and guaranteed results, professional services like Environ Property Services offer unparalleled expertise and commitment to quality. Whether you choose to DIY or hire professionals, maintaining clean and beautiful brickwork is a worthwhile investment in your property’s longevity and charm.